 English
Why are you tires so hard to mount?
Many different rims are available on the market. Some of them comply with E.T.R.T.O. standard (read here for further information), which sets the right rim/tire match, others take some more freedom.
We comply with E.T.R.T.O. standard too, as we can’t risk tire bead leaving their seat. We use very low stretch Kevlar; yet, this tends to give in up to some tenths and reach the final length that is set by E.T.R.T.O.
After the first installation mounting will be easier.
We know that some rims have more difficult sizes than others and the tire can’t be installed manually without a tire lever.
For easier installation try to mount the second bead of the clincher starting off from 180º opposite the valve so that the rim groove may let the bead run down to seat properly into the groove, for an easier mounting of the last toughest 10cm.
Push the valve carefully so that it doesn’t get stuck under the clincher bead, inflate up to 1-2 bar at the most and push the sidewall along the whole length of the clincher tire to check you didn’t pinch the inner tube (this operation must be done on both sides).
At this point you can inflate up to 5-6 bar and check the clincher is seated properly on the rim (the distance between the tread and the rim must be identical along the whole tire). If it isn’t, then push with your hands to seat it properly, if needed inflate to 8 bars as the clincher will win the tension of Kevlar and seat properly.
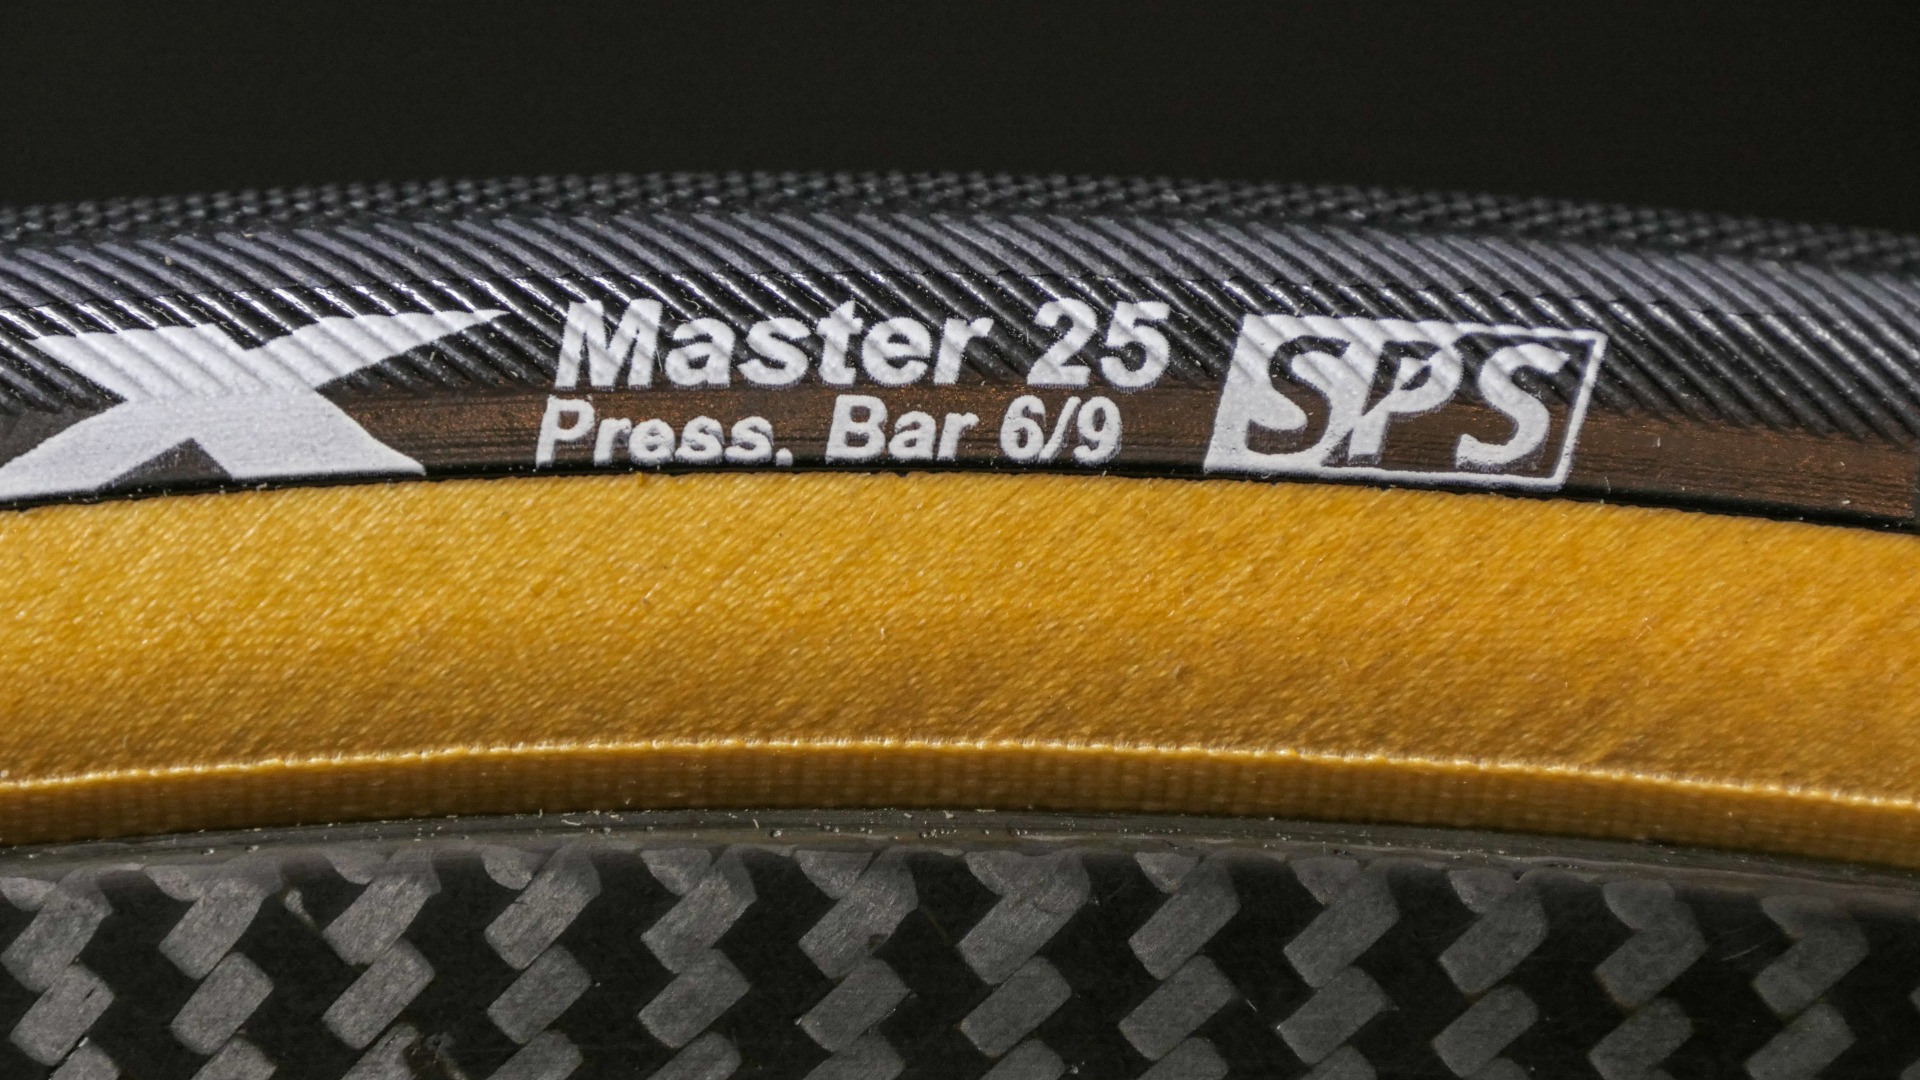
It’s important to check if the SPS sidewall protection tape is outside the tire bead area and that the distance from the rim is the same on both sides (see the picture below).
Once on both sides the rim and the tread are equally distant you can turn the pressure down to a proper value to ride your bicycle.
Remember that it’s better to have a lower pressure than a higher one for greater comfort, grip and safety.


